EU Cosmetic Approval via INTERTEK / Approved for EU cosmetic classification by INTERTEK through our EU partner’s application
Human Skin Patch Tests / Patch tests conducted on human skin during product development
CA Prop 65-Free Glue / Glue composition free of CA Prop 65 chemicals (researched 2020)
No Animal Testing Conducted
Gluten Free
No Latex In Glue Composition
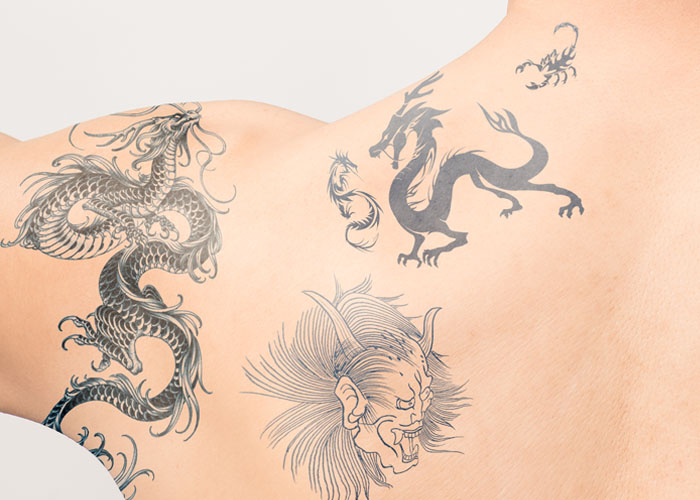
The Tangible Benefits of Japanese Technological Expertise
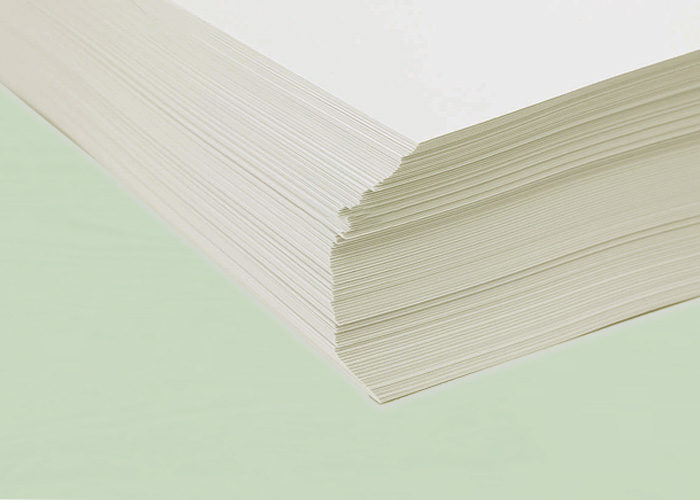
Tattoo Paper
Compatible with a variety of printers.
Retains fine detail, vivid colors, and crisp lines to ensure the highest quality printing.
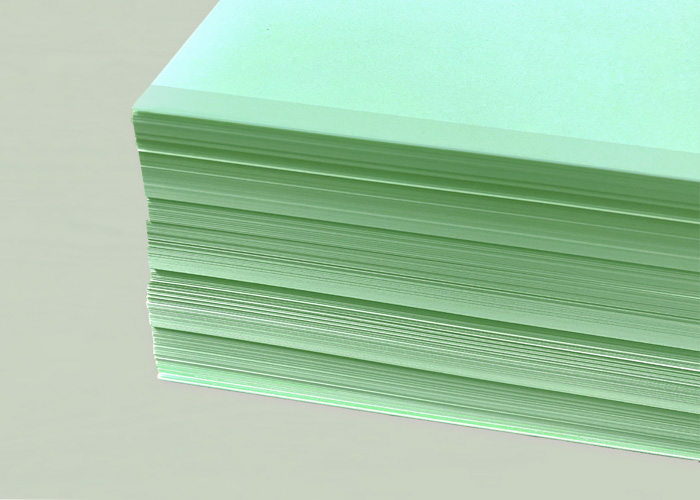
Adhesive Sheet
It is harmless to human skin, hypoallergenic, and the ink adheres well to the skin.
A cutout on the edge of the adhesive sheet makes it easy to peel off the adhesive sheet from the separator and apply the adhesive sheet to the printed tattoo paper.
product style
Tattoo Paper
For Inkjet Printer or For Laser Printer
Adhesive Sheet
Clear Adhesive or White Adhesive
Size
8.5″ x 11″ ( Letter Size ) 210 mm x 297 mm ( A4 ) 148 mm x 100 mm ( Post Card )
Packing Style
8.5″ x 11″ ( Letter Size ) 1,000 sets/ctn 210 mm x 297 mm ( A4 ) 1,000 sets/ctn 148 mm x 100 mm ( Post Card ) 4,000 sets/ctn
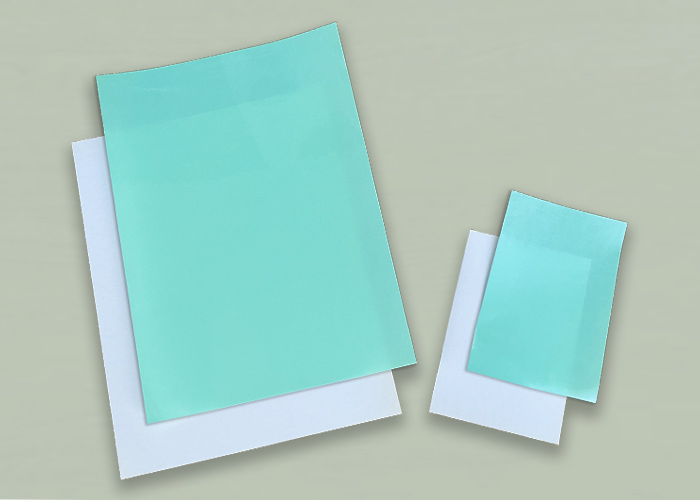
What are the materials used to create a temporary tattoo sticker?
To create a temporary tattoo sticker, you will need tattoo paper and clear adhesive sheet. Tattoo paper is a special paper on which desired designs can be printed. One side of the paper is coated with a layer of water-soluble adhesive that allows the ink to be transferred to the skin for temporary tattooing. Clear adhesive sheet is a thin transparent film with adhesive on one side. This adhesive side works to keep the ink adhered to the skin.
1
2
3
4
5
6
7
8
9
10
11
Design an image on a PC and set print settings of the printer to “left-right reversal” or “mirror image setting” before printing.
If printed with an inkjet printer, dry the image thoroughly (about 1 minute) with a hair dryer or the like. Toner type can be moved directly to the next process without drying.
Peel off the cutout at the edge of the backing paper of the clear film.
Apply the clear film on the printed image.
Please paste the clear film together while rubbing the surface lightly to release air from the side where the clear film is applied. When finished applying it, press it down firmly as if rubbing it at the end.
Cut about 1 cm outside of the image.
Peel off the clear film.
Apply the glued side to the desired area of the body.
After applying the sticker, moisten the surface of the sticker with a wet sponge.
The surface of the sticker will change to a gray color due to moisture, so please peel off the paper while sliding it slowly.